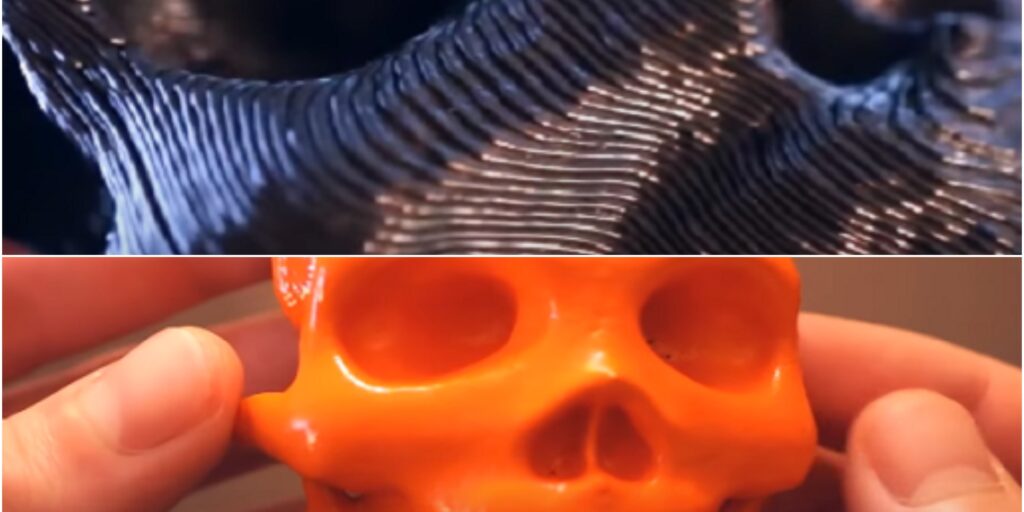
The blog will take you through a DIY Electric Ducted Fan project. You will learn how to design and build a ducted fan in detail. We will provide all the STL files required for 3D printing Electric Ducted Fan for free on our Shop page.
Mainly thrust depends on the number and pitch of blades, the diameter of the propeller, and the power of the motor. It generally varies from 300gm to onwards.
Cost mostly depends on the thrust to be generated. We have a 3D printed ducted fan producing 323gm of thrust, whose cost is roughly $20. You can build one from our STL files.
Let us begin with understanding few terms:
A duct fan

It is an air-moving device that consists of a mechanical fan (a form of propeller) mounted inside a cylindrical shroud or duct. In comparison to a traditional propeller, the duct fan is more effective at generating thrust.
It works at higher airspeeds is smaller in size, and produces less noise. The ducted fan also works in combination with the single or dual propeller.
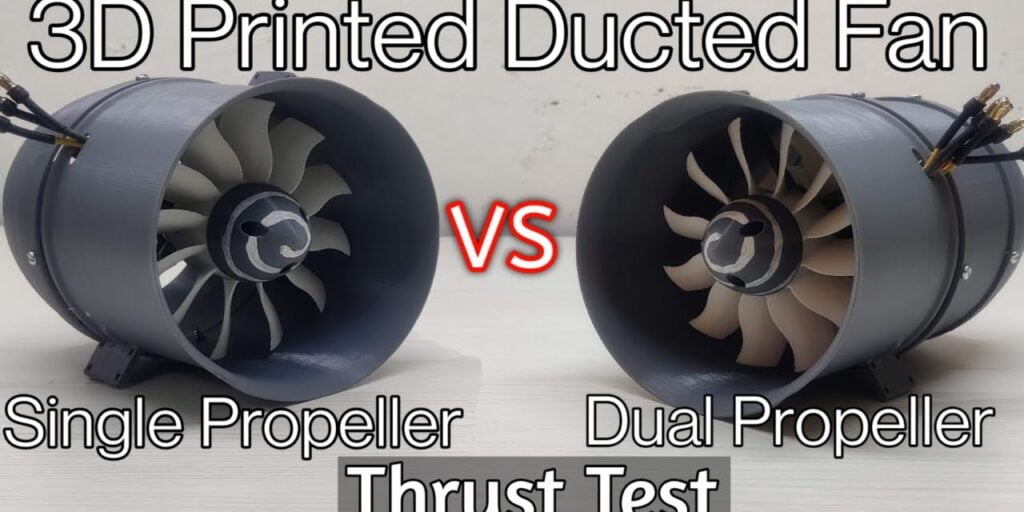
For example, a single propeller duct fan gives a thrust of 323gm at 90% throttle. A double propeller duct fan gives the thrust of 609G at 90% throttle. we can choose as per our requirement.
Single / Dual Propeller
A propeller is a spinning device with radiating blades, set at a pitch to form a helical spiral that works when rotated.
Thrust
Newton’s third law describes thrust as a reaction force that can be quantified. As a system expels or accelerates mass in one direction, the accelerated mass causes the system to be subjected to a force of equal magnitude but in the opposite direction.
Now, DIY Electric Ducted Fan project and find the result for a Single propeller ducted fan:
Items Required for DIY Electric Ducted Fan are:
- Outer casing (to mount all parts)
- Nozzle (to increase the velocity of exhaust air)
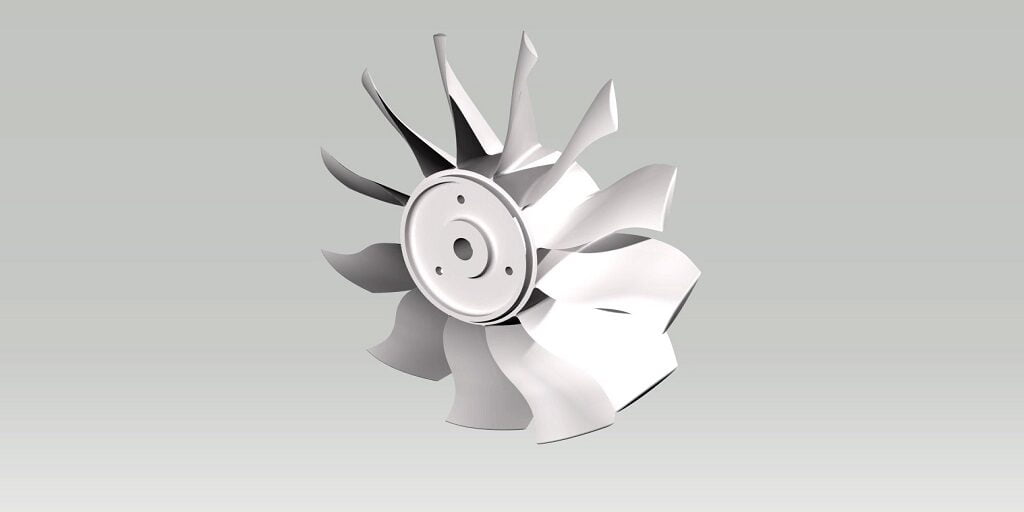
- 100MM Diameter Propeller (1No)
- 12 set Fan Blade (1No)
- 1000kV Brushless Motor (1No)
- Diffuser (Distribute intake air).
Outer casing, diffuser & nozzle 3D printable STL files can be downloaded from our product page. You can also see the width, height, and depth of each component in the product description section of our Ducted Fan product page.
Parts (files) in Ducted Fan:-
- Back Blade (Propeller)
- Front Blade
- Diffuser
- Nozzle
- Outer Shell
- Second Shell

Propeller 
Back SHell Front View Diffuser Nozzle Outer Shell


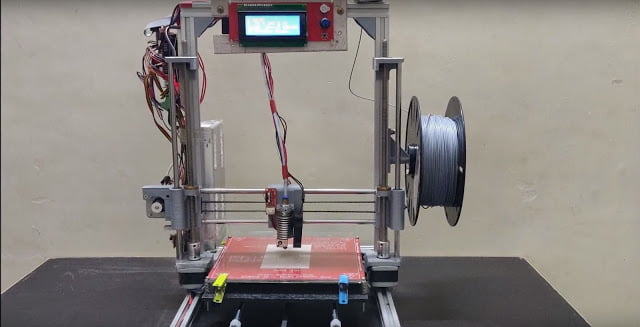
The ducted fan is distributed into the above-mentioned parts so that you can easily print any part at your home with your own DIY 3D printer of minimal size i.e. 220(mm)x220(mm)x250(mm).
Let us step by step understand how to build a DIY – Electric Ducted Fan
Step 1 – Assembling the parts –
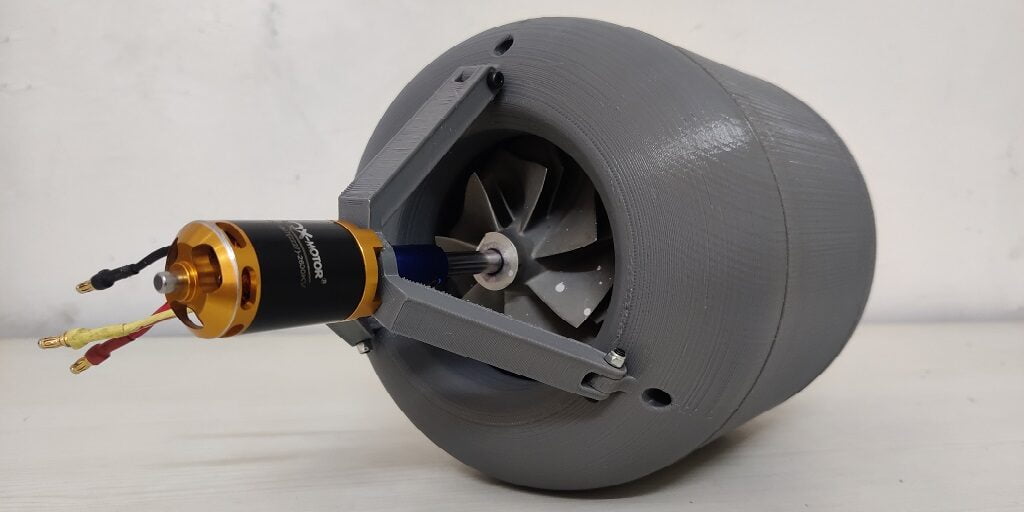
Use the 1000kv brushless motor to connect with the help of 4 M3 screws of size 16mm. Attach the propeller to the motor with the help of a bullet connector.
Make sure the bullet connector is of the perfect size. If the thickness of the propeller and the bullet connector is different, then you can use a plastic washer to mount them.
Place the bullet connector on the brushless motor and tighten it with the help of a plier. Next, place the nozzle at the back of the casing. Fit it perfectly with the help of the grooves provided to match the alignment of the nozzle.
In the outer casing, it is mounted with the help of four screws. Place the diffuser at the top of the propeller and tighten with the help of a screwdriver.
Step 2 – Thrust Testing
We need a sliding mechanism on which our fan can slide for that we will connect 2 Allen M bearings and securing them with the help of zip ties.
For making a slider, use two smooth rods of 8mm dial and 500 mm length and use two 3d printed mounts, use electrical tape if there is a loose fit between the smooth rods and the mount.
Then hold them in places, before attaching the second mount, insert the fan on the smooth rod, and then attach the second mount.
Slide the fan on the smooth rods. U might feel a bit of resistance between the smooth rods and the bearing it’s because there is a misalignment between the bearing and the rod.
Let us check if the fence lights in this condition. Connect the motor with a 30 Amp ESC and an 11.1-volt lipo battery. Connect a servo tester with the ESC to give the throttle.
You will be able to see the fan moving forward. (as the resistance is high so might take the frame along with it) Friction here might create lots of thrust drag.
You can replace the two bearings with a set of four so that the fan does not wobble during the test. So let’s start the test but before proceeding wears your safety glasses.
You will now be able to see the thrust is enough to lift the fan in a slant position but no matter how much we reduce the resistance there will always be some thrust drag because of the rod
Step 3 – Thrust Calculation
(i) For Single Propeller:
Here is a very simple way to calculate the thrust of the fan. First, check the weight of the fan (which is about 161 grams) Keep two wooden blocks on the weighing scale and attach them with the tape.
This is so that it doesn’t move because of the vibration of the fan. Now connect the motor to the ESC and place the fan upside down on the two-block and reset the weighing scale to zero.
After increasing the throttle slightly hold the fan so that it doesn’t fall off the weighing scale.
Keep in mind certain limitations
- First is ducted trend uses a high kV motor but here we can’t use that to prevent the breaking of propeller because of high centrifugal force and
- The second is air intake restriction because of the weighing scale and block the maximum thrust was 323 grams at 90% throttle which was a better result for this type of fan.
(ii) For Dual Propeller:
For the thrust calculation, follow the same procedure as the previous one. Check the weight of the fan which is (278 grams). Keep two wooden blocks on the weighing scale and attach them with the tape.
The dual propeller ducted fan has a very high airflow rate and gives us a thrust of 609 gram at 90 throttles which is very good for this type of ducted fan.
Keep in mind all the limitations:
- The commercial ducted fan uses a very high kV motor but we are using a 1000 kV motor
- The air intake, there is an air resistance which is caused by the scale if it would have been suspended freely then it would have given us a thrust of approx 800 to 900 gram.
Watch the YouTube video given below to understand it practically. You can also follow us on our Channel.
Thank You for visiting us, we hope that we have helped you. In case of any doubt or thoughts please ask in the comment box below. If you like our post on “DIY Electric Ducted Fan: The Best Step Wise Guide”, please share it with your friends.