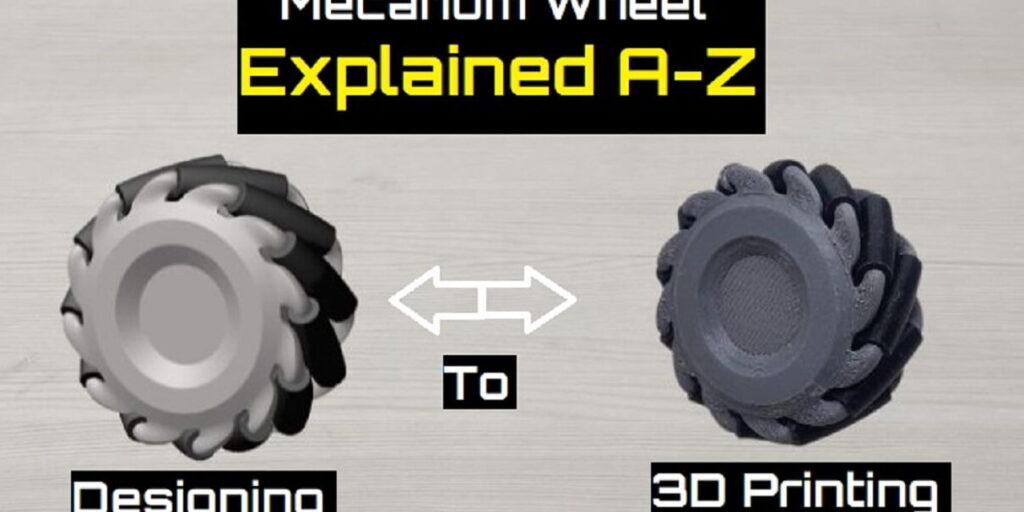
Today we are going to make a Mecanum Wheel, these are multi-directional wheels and they can move in any direction according to the instructions they are given.
We will divide this post on Mecanum wheel in 3 simple parts i.e. Designing, Assembly, and working. We will not talk much about designing but we will provide you mecanum wheels 3D printable .STL file.
Mecanum Wheel A-Z
Designing – 3D Printable .STL File
First of all, comes the designing part of the mecanum wheel. We have already designed it for you, we will not go into the designing process as that is a whole other story, and discussing it here will make this post very lengthy and boring.
We will explain the parts given in the 3D file and their work. You can download the design file from the link given below.
This 3D cad file is in .STL format. This file contains three main parts and 12 rollers you can easily print all these parts from a homemade 3D printer if you don’t have one you can see the link below, we have given in-depth instructions to make one at your home very easily with the most easily available parts.
Parts given in the file are as follows and their pictures are also attached.
- Bottom Base: Mecanum Wheel Side 2 also known as Bottom base, is used to align the motor and is a main part of the wheel.
- Upper Base: Mecanum Wheel Side 1 also known as upper base, is the wheel’s closing part.
- Y Connector: Captioned as wheel connector in the image below, it is used to hold the motor, upper base, and ower base in place.
- Rollers: There are 12 rollers in 1 wheel connected between the upper base and lower base with the help of the spokes (Explained further in the post).
Mecanum Wheel A-Z
Assembly of Parts
The three 3D printed parts named as the bottom part upper part wire connector and the rollers.
In the bottom base, I have already connected the 3 M3 nuts and secured them with the help of a glue gun so that they won’t come out.
Y connector will be used to mount the motor with the wheel here we are using a 100 RPM motor to have better torque and to get good friction between wheel and surface.
Now just keep on following the below given steps and you will have a mecanum wheel in very simple and easy way.
- First Mount the Y connector with the bottom part of the wheel.
- Insert the motor in the Y connector make sure while inserting, the whole alignment of the motor shaft and Y connector is the same.
- Now insert an M3 Bolt of 10mm in the motor shaft hole to secure it in place and tighten it with the screwdriver.
- Every mecanum wheel has 12 rollers which are secured in place with the help of a 3 mm shaft of 52 mm in length.
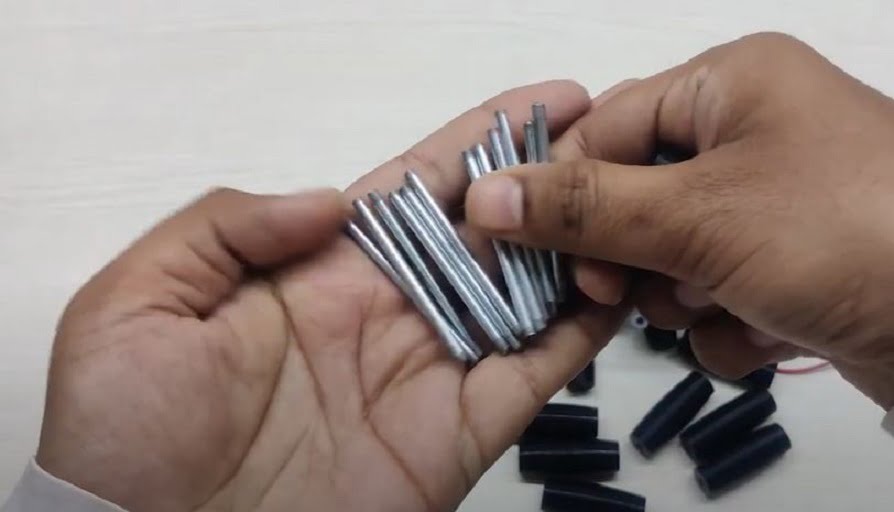
- Here we are using a 30 cm spoke out of which five shafts can be cut, make sure to leave a clearance of 1 mm or 2 mm while cutting smaller shafts from the big one.
- Now insert each smaller shaft inside the roller one by one.
- Now place the rollers in the outer part of the wheel.
Note: Make sure to use a low RPM motor because our roller wheels are made up of 3D printed material which is quite slippery in nature and if you go with the higher RPM motor then it will easily skid on the surface
- Take 3 M3 size screws and insert them inside the bottom part.
- Carefully place the bottom part over the outer part on which we have placed our rollers and while doing this, maintain the alignment of the three screws with the hole in the outer part.
- When you are sure that they are aligned correctly tighten the screws but not tighten them fully because we have to still insert the rollers in the opposite part.
- With the help of your hands carefully inserts the free part of the rollers into the upper part of the wheel, please don’t use any extra force otherwise it will break the frame. The material’s elasticity will help you in doing so.
That’s it your mecanum wheel is complete.

The overall quality of the wheel is good there are some rough surfaces which is due to the 3D printing, this can be neglected. Now this wheel apart from moving forward and backward, can easily move in the sideways direction also.
Trending Posts
Mecanum Wheel A-Z
Working
Now let’s talk about how they move sideways direction. To make your wheels move in a sideways direction you have to place two wheels in which rollers’ alignment are in the opposite direction (as shown in the figure below).

Now when you will rotate this set of wheels in opposite direction they will tend to move in a sideways direction.
We will discuss the forces behind this on pen and paper with the help of some physics so that you can understand in more depth
Forces on Mecanum Wheels
First, let us consider two wheels whose rulers are aligned in opposite directions. Now suppose that the top wheel is rotating in an anticlockwise direction and the bottom wheel is rotating in a clockwise direction.
The force exerted by the wheel on the surface will be normal to the alignment of the rollers (as shown in the image below).
Now we will divide this force into its components i.e. horizontal direction and vertical direction. On breaking into components we will get F1CosΘ and F1SinΘ and similarly in the second wheel i.e. F2cosΘ and F2sinΘ, where Θ is the angle between normal force and vertical direction.
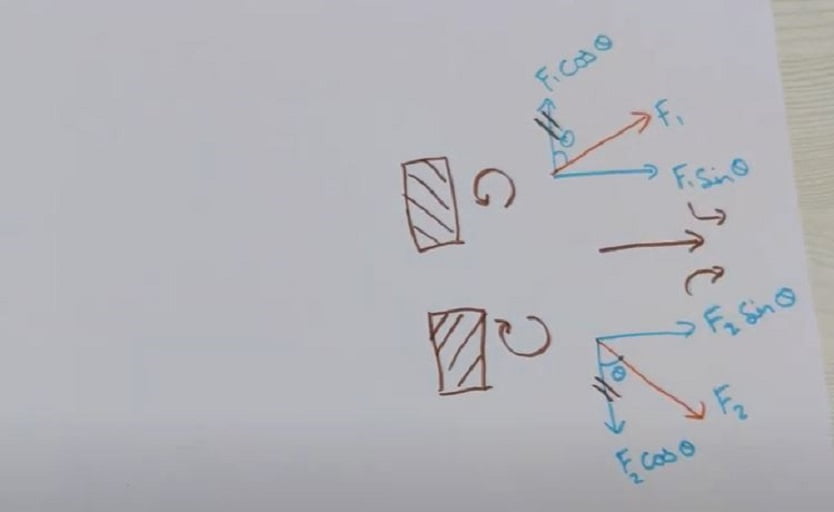
On carefully observing the components we see that the F1cosΘ and F2cosΘ are in opposite directions and cancel out each other. The only remaining components are F1sinΘ and F2sinΘ which are in the same direction and thus they add up and helps the wheel to move sideways.
To make a body move sideways you will need 4 set of mecanum wheels.
Mecanum Wheel A-Z
FAQ
How does Mecanum Wheel work?
When two wheels in one side of the body with opposite roller alignments rotates in opposite direction i.e. one in clockwise and other in an anticlockwise direction. Then, the perpendicular component of forces gets canceled out and the horizontal component of force adds up giving a push to a sideways direction.
What are the advantages of mecanum wheels over omni-directional wheels?
Well, the main difference is the size of the small rollers or wheels. In mecanum wheels, they are larger than Omni-directional wheels which give them a fair advantage in running over obstacles.
How many mecanum wheels are required to make a body move sideways?
To move a body sideways you will need a minimum of 4 wheels i.e. two on each side.
Mecanum Wheel A-Z
Conclusion
We hope that this article on “Mecanum Wheel A-Z 3D File, Working, Assembly” has answered all your queries. If anything is missed by us then please let us know in the comment box we will be happy to help you.
Thank You.


